Pages

Psalm 23:5, Literary Life, Finding Joy

Showing posts with label tutorial. Show all posts

Saturday, January 25, 2025

January 25: Psalm 23:2, Fun Fiber Projects, Literary Living and Finding Joy


Hello There,
Thank you for visiting!  I hope you all are doing well.   Are you all having a difficult time inserting and positioning photos on your blog?  I am having such a hard time that it almost takes all the fun out of blogging! While writing my  last post,  (and in the future), I just decided to do the best I can and simply focus on connecting with you!  😊
I hope you have enjoyed your fiber fun projects, literary lives and snow - if you got some!  Our weather has been cold and I have both sinus and ear infections and allergies, so I've been hibernating, stitching and reading!  

Thursday, January 18, 2018

Philippians 4:14. Tutorial: Making a Fabric Stash Notebook. To Do Tuesday.

Philippians 4:14
Scripture
Observation
Let's look at this verse in context.  Paul softens the words in Philippians 4:10.  Don't you think?  

Application
It reminds me of our current world where email and text messages are such a major part of our communication.  I have started to believe that we are best served by these tools by always - yes always - assuming the best in the tone of these communications.  I also am trying to learn not to take statements personally - but to try and receive them in love.  When this seems difficult, I go to a loved one and ask them to help me find the "best" in a message.  Life is becoming more serene as I am slowly learning to do this.

Another point I love in this verse it the entire verse - it was good for you to share in my troubles.  I get the sense Paul isn't saying this in the attitude of "misery loves company", but with joy and relief that he had prayer support, love and other support during his trials.  

I know that recently I have indeed rested behind the shield of faith of many loved ones.  I've needed to do that - 
AND IT'S OK.
Sometimes we all need to lean into His everlasting arms and into the arms of trusted loved ones.  

Thank God they are available to us!  

As I write this, I think of a precious little girl named Hazel.  She has leukemia - she's very ill.  Would you consider praying for her?  Following her mom on Instagram @veecrow?  Precious Hazel has taken my heart and I pray for her every day.  

Oh my dear readers, let's share in each other's troubles!  Let's build each other up with prayer!  Let's...love...love...love!

Prayer
Abba, You know my situation. You know Hazel's situation.  You know each person's situation who is reading this.  
You
know.
You hear our cries.
You hear our praises.
You know.
You hear.
You respond.
Thank you, Abba, for sharing in our troubles.
Hugs to You, My LORD and King.
Amen.

Tutorial:  Making a Fabric Stash Notebook
My local quilt shop, Bernina Sewing and Design, always has a fabulous year end fabric sale.  My daughter gave me the great idea of purchasing the backing fabrics I would need for the foreseeable future.  Which I did as you can see here.  

I also wanted to fill in some "holes" in my stash as well.  Hence, my fabric notebook.  In all honesty, it's not pretty at all.  But, it's oh so functional.  Here's how it came together:

Materials
manila folders
fabric scissors
2 1/2" square ruler
double sided sticky tape
book tape

I have my fabric organized by sets, color and projects.  Yes, this is my entire stash.....except for precuts, fat quarters and backings!  :)
Every evening while on the phone with my Dad (we talk every night), I would pull a stack of fabric and cut a 2 - 2.5" square from each "bolt".  

Then I would arrange them in a pleasing order. 

After that, I placed a piece of double sided sticky tape along the top of my manila folder end to end.  Then I simply placed my 2" squares on the tape!  Wala!

I continued making rows of mini squares of fabric, 

using the next page as necessary!

When I came to a new section, I simply started a new folder. 

After all my fabric was cataloged, I used the book tape to tape two folders together.  Then I added the next folder and so on.  The book tape provided a strong "spine".

I suddenly had a visual library of all my fabric.  The "holes" in my stash were quite obvious, so it was easy to make a list and stay focused during my biggest shopping spree of the year!

The entire process took about 3 hours spread over a couple of evenings - a great investment of my time.  When I add fabric, I simply add it to that section.  

Now, if you wanted to, you could add the yardage of each fabric, but that wasn't my goal.  I know that most of my fabrics are 1-3 yard cuts.  I do have some exceptions, but very few.  

Now, when I'm prepared when I go on the hunt for fabric!

To Do Tuesday
Wow!  It's been so long since I've linked up to To Do Tuesday!  I've missed you so much!  

Here is my first To Do Tuesday of 2018!  It's great to be back!
1) Finish the Tumbling Blocks prototype.
2) Finish the first 10 squares of Maria's Blue Crayon Spring Granny Afghan Crochet Along!
3) Pray my prayer and memorize Proverbs 19:23.  
Linking up to:


Becoming Press 

Prayer for the week:


Sunday, September 24, 2017

Saturday's Song. Sunday Slow Stitching. Stash Report with Tutorial.


Saturday's Song
Beloved child, God sees mended - always.  If you're having trouble believing the good in you exists, please print out the lyrics at the end of this post.  Read them everyday until they become a part of your heart.  You are loved.  


Sunday Slow Stitching
With the finish of this scarf, I am once again in the black with my yarn stash!  I'm hoping to finish the matching boot cuffs this week!  I used Elysian 60% Superwash Merino Wool by Cascade Yarns.  It's a bit pricey, but so well worth it!  It's called the Kimberly Scarf and the easy to follow pattern is by Esther Thompson at Cute As A Button Crochet.  I love Kathy's Sunday Slow Stitching Sundays because I always make time to post something slow and easy!  

Stash Report
There were no input/output of fabric, so it stayed the same.  I'm so grateful for the Sunday Stash Report at quiltpaintcreate  and for Mollie at Mollie Sparkles for their stash report link up that I'm following up this report with a tutorial on how I determine my fiber input/output!  By "fiber", I'm referring to fabric as well as yarn.    


High Quality fireworks Blank Meme Template
I must say that using this stash report has really helped me to be a more responsible consumer of fiber.   I'm very surprised at how much fiber I've used since June! 


Fiber Stash Report:  September 24, 2017
(started 6/11/17)
Fabric used this week
11 yds
Fabric used to date
33 1/8 yds
Fabric Added this week
3 3/8  yds
Fabric Added this year
20 ¼  yds

Net Fabric
12 7/8  yds

Yarn used this week
15 oz  
Yarn used to date
102 oz
Yarn Added this week
59 oz
Yarn Added to date
94 oz
Net Yarn
 8 oz

Stash Report Tutorial
I created this using the "table" feature in Word.  It's easy to figure out my fiber input it's right on the receipts.  Also, yarn output is easy due to yarn labels.  Also, if it's a scrappy yarn project, I simply weigh the finished product on my food scale.  

The most challenging part of determining fabric output is when I make my beloved charity blocks.  

Here's my method:
1) I measure the unfinished size.  
2) Depending on the number of seams, I'll add 1-3 inches.   It's not an exact science, but it's a fairly accurate "guesstimate."  I'm good with that(Keep It Simple, Silly!) because I want to KISS this activity.  


3) I open Robert Kaufman's Quilting Calc app to the opening page.


4) I skip the banner the main page comes up.  Then I click on the "Pieces to Yardage Area.


5) On this screen I enter the width of the fabric, the number of blocks I made, as well as the width and length of the blocks (with the 1-3" included).


6) I click on calculate and wala! My yardage magically appears!  Here is the result using 10 blocks at 15" each.  

I'm linking up to


Sunday Stash @ MollieSparkles

Katie Mae Quilts

Mended Lyrics
How many times can one heart break?
It was never supposed to be this way
Look in the mirror, but you find someone
You never thought you'd be

Oh, but I can still recognize
The one I love in your tear stained eyes
I know you might not see him now
So lift your eyes to me

Chorus
When you see broken beyond repair
I see healing beyond belief
When you see too far gone
I see one step away from home

When you see nothing but damaged goods
I see something good in the making
I'm not finished yet
When you see wounded, I see mended

You see your worst mistake
But I see the price I paid
And there's nothing you could ever do
To lose what grace has won

So hold on, it's not the end
No, this is where love's work begins
I'm making all things new
And I will make a miracle of you

Chorus

I see my child, my beloved
The new creation you're becoming
You see the scars from when you fell
But I see the stories they will tell

You see worthless, but I see priceless
You see pain, but I see a purpose
You see unworthy, undeserving
But I see you through eyes of mercy

When you see broken beyond repair
I see healing beyond belief
You're not too far gone
You're one step away from home

When you see nothing but damaged goods
I see something good in the making
I'm not finished yet, no
When you see wounded, I see mended

Oh, I see mended
Woah, oh I see mended
I'm not finished yet
When you see wounded, I see mended

Sunday, July 23, 2017

Phliippians 4:4 Part 2. Patrick's Strength. Glue Basting Tutorial. Book Date.

Philippians 4:4 Part 2
Part 1
Scripture


Application con't.
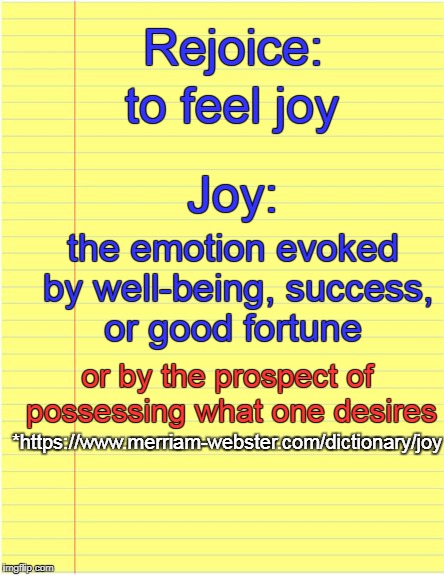
Yesterday we defined rejoice, joy and noted the section in red. Joy - and the ability to rejoice always - comes from God!  

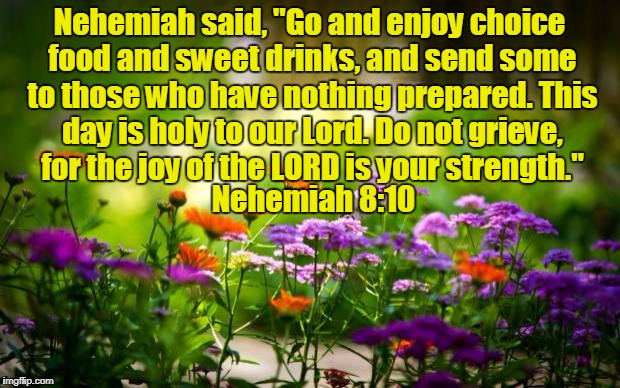
I certainly could not have rejoiced through many of my challenges without Him!  I remember when we discussed 
joy and Philippians 2:11.  His joy is our strength.


To the best of our abilities,
let us not grieve
past hurts,
present challenges
or
future fears.  

Let us draw on God's joy 
so that we may be 
healed from past hurts,
strengthened to face present challenges
and 
have courage to face our future with faith-filled hearts and minds.

Prayers
LORD, so much is happening in our world.  Sometimes I feel bombarded with all I see around me.  It becomes hard to rejoice.  It becomes hard to praise You.

You are so faithful and patient.  You remind me to turn on praise and worship music.  Sooner rather than later, my faith is rejuvenated.  Your precious Word is filled with reassurances and hope.  Thank You, Abba for these gifts of encouragement and hope!
Amen!

Patrick's Strength

Patrick received his afghan!  How exciting is that!  His mom sent me this picture of it laying on his bed.  I purposely made the afghan a bit narrower than most so it could be used on a hospital bed without interfering with the controls.  I am moved beyond words.......
She gave me permission to share it!  Wasn't that sweet of her!  Please continue your prayers as his situation is extremely serious.  


Glue Basting 

UPDATED 7/24/17:
Glue Basting or Spray Basting
Yes!  I used the wrong term!  It's spray basting!  Sorry - newbie mistake!
I don't often quilt my own quilts.  They usually go to my dear Stephanie.  My daughter quilts my baby quilts.  On the very rare occasion that I quilt my own quilts, I glue baste them - a process my daughter taught me.  She uses a 505 Spray Adhesive.  I picked up a can of Spray 'n Bond Adhesive with a coupon.  

I love it because it is so much friendlier to my hands than pinning.  I haven't used this process enough to say it's perfect - but it works for me!  

Here's how I do it!

1) Lay out a twin sized top sheet (for a baby quilt) or some other covering to protect your surface.  I spread it out on my cutting table to protect the surface and my yarn  stash(it hangs on the side of the table). Spread out your backing, right side down on the sheet smoothing away any wrinkles/bumps.  
2) I roll up the batting.  Then spray a coat of adhesive to about the first 9" of the backing.  Carefully lay out your batting over the sprayed section.


3) Spray another 9" or so.  Spread out your batting.  Repeat this process until  your batting is completely laid out!

Now, I forgot to take pictures of the next steps, but it's basically the same.  
Roll up your quilt top.
Spray about 9" of your batting.
Carefully lay out your quilt top on the sprayed batting, smoothing it down.  
Repeat the process until you have basted the entire quilt top.  UPDATED 7/24/17
TO INCLUDE THIS PIC!

You are now ready to quilt!

As always I'm interested in your comments and suggestions! Please share your thoughts and experiences with glue basting in the comments! 

Book Date:  Younger Next Year Part 2
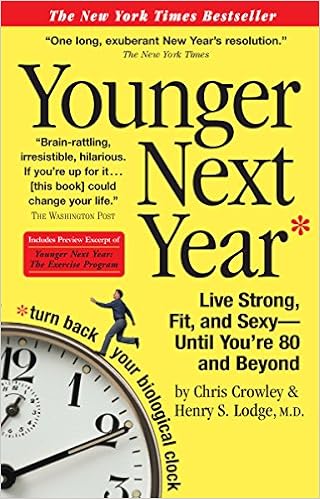
Currently I'm reading Younger Next Year by Chris Crowley and Henry S. Lodge, M.D. I'm on chapter 7 and thus far the authors have made a convincing argument for daily exercise - exercise that makes us sweat.  Albeit, it was a bit detailed for my tastes but I was convinced!  I'll keep you appraised of my progress with this read.  Granted I may be doing some skimming rather than reading......  :)
  
I'm linking up to


@ Cooking Up Quilts


Monday, June 26, 2017

Philippians 3:18-19 Part 1. Hand Quilting - Mini Tutorial

Philippians 3:18-19 Part 1
Scripture
Observation
"...many live as enemies of the cross of Christ"
Paul has reminded us that he has repeatedly made this statement.  And now he makes it again:  
with
tears.
Application
Who is Paul weeping for?
He describes them in verse 19.  But, alas, I am getting ahead of myself.

Our verse today is verse 18.
For, as I have often told you before 
and now tell you again even with tears, many live as enemies 
of the cross of Christ.
Philippians 3:18

My dear reader, is there someone you weep for as well?  Someone you love who is living as an enemy of the cross?  

I've been there, too.  
It's a tough road.
Believe me.
I know.


But there's hope in our despair!


Remember this verse 
with courage based on what you know God can do, 

with certainty and hope in the God who loves you - and your loved one, 

with confidence that He who is faithful holds your hand right now and always!
 My dear reader,
you
are
not
alone!
Prayer
Abba, thank You for gently calling me and guiding my fingers on the keyboard today. Thank you for Your presence as we face difficult circumstances.  I pray, my LORD, that You will rain your comfort, strength and courage on us all that we may come to You in confidence and face our enemy with Your power!  Let us laugh at the days to come!
Face, Smiling, Laughing, Smiling Face

https://pixabay.com/en/face-smiling-laughing-smiling-face-980611/

She is clothed with strength and dignity; 
she can laugh at the days to come.
Psalm 31:25


Hand Quilting - Mini Tutorial
I don't have a ton of experience with hand quilting, but I have learned a bit during this project!  
I have to send out a huge thank you to Kathy and to those who participate her Sunday Slow Stitching link ups as they have inadvertently been so helpful as they have shared their own experiences!  


I started out by glue basting my mini quilt.

Here is a close up of my hand quilting!
I drew lines 1/4" in
to guide my stitching.
I used a pin to mark 
where to begin my next stitch.  
Here's a closeup of 
the backside of my stitching
with the pin marker.
It's not perfect - 
and that's ok with me!  :)
I'm looking forward to 
dedicating more time to this project 
after I finish Patrick's Strength!

I'm linking up to